 +49 (0) 2359 9072-72
Installation Tips
Installation Tips for Pedestals / Slab Supports
We should like to make installing our pedestals and other products easier by providing you with arange
of helpful tips. However please note that the information provided is no substitute forinstallation performed
by professionals, for example when laying a terrace. There is no right of recourse against euro-system
Couwenbergs oHG in the event of improper use.
, euro-gate Hamburg")

, Bestattungforum Ohlsdorf")
 unter Gitterrostplatten")
Underlayment
The slab supports can be laid on a tiled or even surface. To prevent problems subsequently occurring and
to enable you to enjoy trouble-free use for years to come, the tiles must not exhibit any signs of damage,
caused for example by water, frost or other impacts. If there is damage present, the floor covering should
be removed and then sealed.
Sealing
Now the substructure needs to be sealed. This can be achieved, for example, using rubber or bitumen sheeting.
Even new buildings need to be sealed if just the bare concrete is in place.
Slab/flagstone supports
Our slab/flagstone supports are available in a wide range of different heights and you can stack as many as
you like one on top of the other and they do not slip. Thus the substructure of a terrace, for example, can be
configured at any required height between 15 and 600 mm.
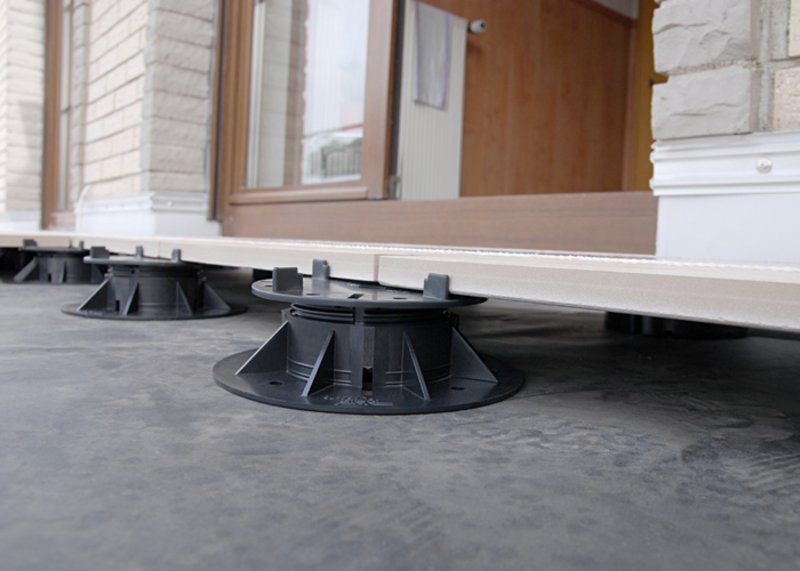
Height-adjustable pedestals
Height-adjustable pedestals consist of two components - the stilt base and the threaded stilt top.
When installing, care needs to be taken to ensure that the lower marking on the thread is no longer visible.
For installations starting at a height of 75 mm, the thread of the PLV50/75 height-adjustable pedestal may
only be raised to a maximum height of 70 mm. This increases safety and resilience when using taller stilts
(up to 600 mm).
Gradient adjustment
To compensate for any unevenness in the floor, shim washers are split and placed on the slab supports
in such a way as to off set any gradient. The shim washers can also be used to level offslabs/flagstones
or beams. They are split into two or four and are placed in the appropriate place beneath the slabs or beams.
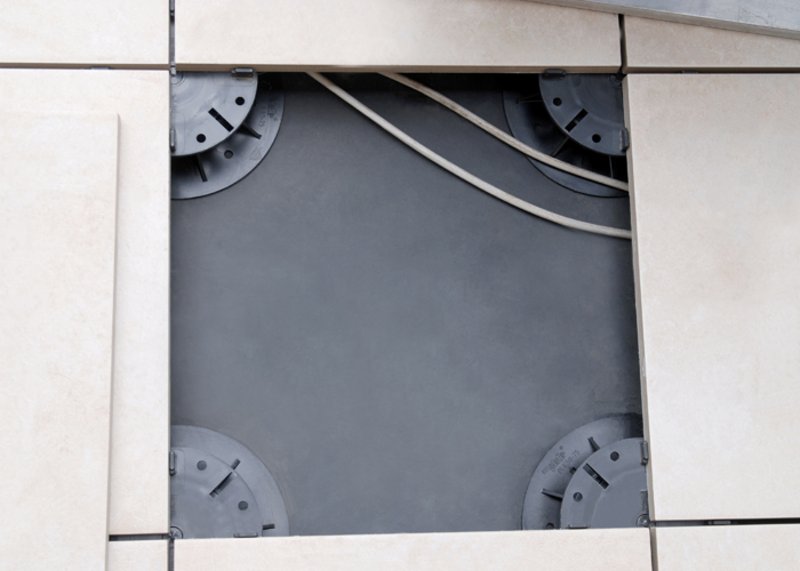
Height adjustment
Instead of stacking several Type PP155/15 pedestals one on top of the other, taller pedestals can be used
from the word go. This is recommended if wiring, pipework or cables have to be laid, since the use of taller
pedestals increases the clearance between floor covering and substructure.

")
 für die Randverlegung")
 auf Druckausgleichsscheibe DA200/3 und Steckfugenkreuz ST-FK6 (6 mm Fugenkreuz)")
Installation Alternatives
Various installation alternatives can be recommended, depending on how and where your pedestals are used:
Paving
· Installation of with-gap pedestals: normal configuration using spacers or cross-shaped spacer
· Installation of no-gap pedestals: inverted configuration, no spacers
· Installation of pedestals in mosaic/running bond patterns: inverted configuration using
T-shaped spacer or semi-inverted configuration with three spacers
Timber decking
· Installation of beams with spacers: diagonally between the spacers
· Installation of beams without spacers: inverted configuration
Grating
· Grating as a transition between paving and timber decking or placed in front of entrances
· Grating as a sole floor covering on roofs, balconies, in plazas etc.
Temporary decking
· Exhibition booth floors
· Marquee floors
· Dance floors
· Presentation spaces etc.
Installation in water features
Installation of pedestals in fountains, shallow pools etc.
Non-Enclosed-Space Installation
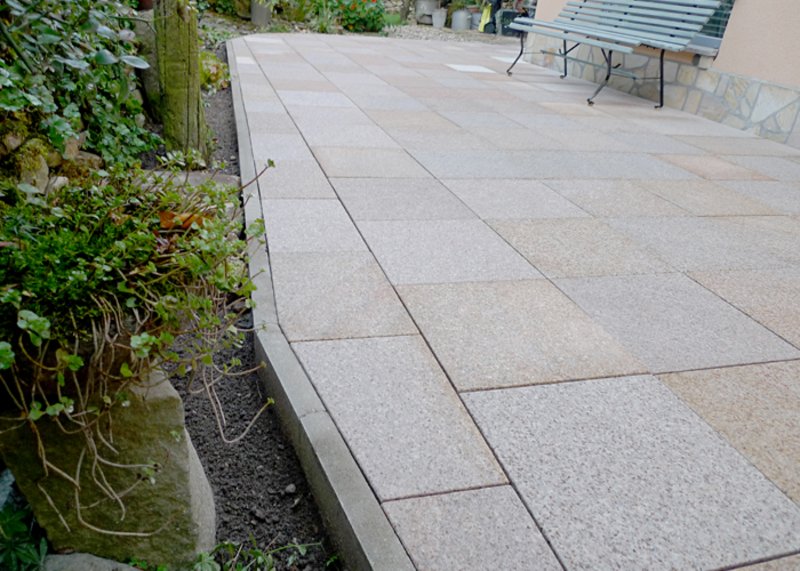
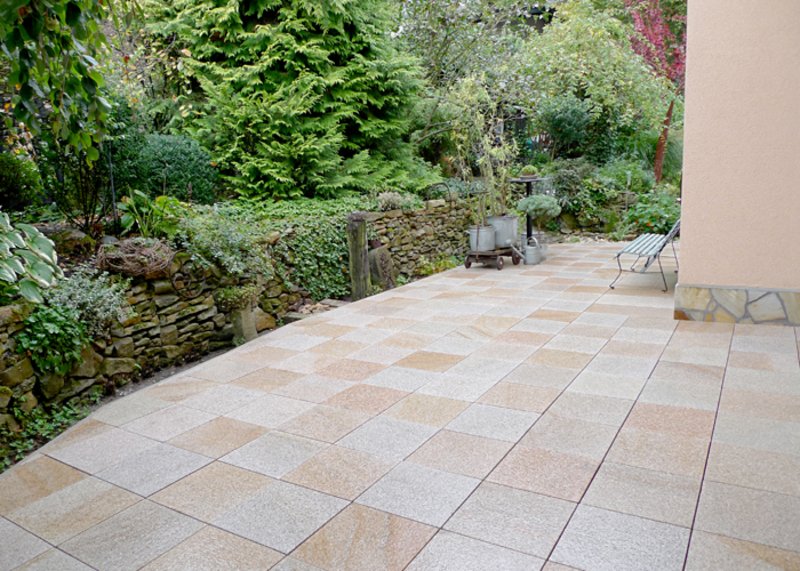
Where pedestals are installed in a non-enclosed space (i.e. not bordered by walls) the last row of slabs must be
secured in place to prevent them from slipping. The following methods can be applied for this purpose:
· Lawn boundary: use of the lawn boundary stones, which hold at least 1.5 to 2 cm of the slab's edge in place,
so that the latter cannot pop out over the top of the former
· Non-enclosed space boundary, e.g. glass balcony etc.: secured in place using a perforated metal plate
· L-shaped bracket: the entire contact surface of the final pedestal is placed on one side of the bracket.
It should not be able to be knocked over and should cover at least 1.5 to 2 cm of the slab's edge, so that
the slab can't pop out. Where smaller or pre-cut slabs are used on boundaries, the perforated metal plate
should be configured to allow the penultimate row of pedestals to stand at least 50 percent on the metal plate.
For additional rigidity a construction adhesive can be used.
· U-shaped bracket: the final pedestal can be placed in a U-shaped bracket. Where the PLV50/75 decking support
with a 20 cm diameter footprint is used, the support remains secured in the bracket, for example. The bracket
only rises some 2 cm beneath the slab and the contact surface must not be any wider than the base of the
decking support. Furthermore at least 1.5 to 2 cm of the slab edge should be concealed to prevent it from
popping out. Here too the slabs can be bonded to the pedestals or the pedestals bonded to the substructure.
Installation of rigid pedestals along borders: paving and metal grating
Where rigid pedestals are installed along borders, half-pedestals are used along walls and quarter pedestals are
used for corners. If the paving has to withstand high compressive loads, the slab supports however should be installed
as complete units. To action this, both opposite spacers have to be removed. Alternatively the slab can have an
additional form of support placed underneath its centre. Given that they have a threaded section, height-adjustable
pedestals can't be halved and therefore also have to be installed as complete units. In order to make the border
even more resilient, the spacers that are not required can then be removed and the pedestals can be completely
pushed underneath. Here too installation in inverted configuration can be helpful.
Border installation of rigid pedestals: timber decking
When installing a timber terrace, the beams are positioned on full pedestals or slab supports. This also applies
to installation along a border.
Bordering
Angled brackets, drainage grating, walls, balcony balustrading, concrete troughs, lawn boundary stones etc.
can constitute bordering.
Installation at heights of 500 mm and more
If you are installing a terrace at a height of 500 mm or higher, then you are recommended to fix the stilts
one beneath the other. For this purpose you should use the holes on the sides of the ZSt65/100 slab support.
At this height, non-fastened or non-enclosed-space installation is generally not recommended. Even if the stilts
are correctly fastened and the flooring is fitted exactly against a wall, parapet boundary or similar, this does
not mean that the structure should be regarded as having cantilever properties.